> For the complete documentation index, see [llms.txt](https://docs.epicollect.net/llms.txt). Markdown versions of documentation pages are available by appending `.md` to page URLs; this page is available as [Markdown](https://docs.epicollect.net/mobile-application/upload-entries.md).
# Upload Entries
Entries must be uploaded manually by the users as there is not any automatic syncing feature in Epicollect5.
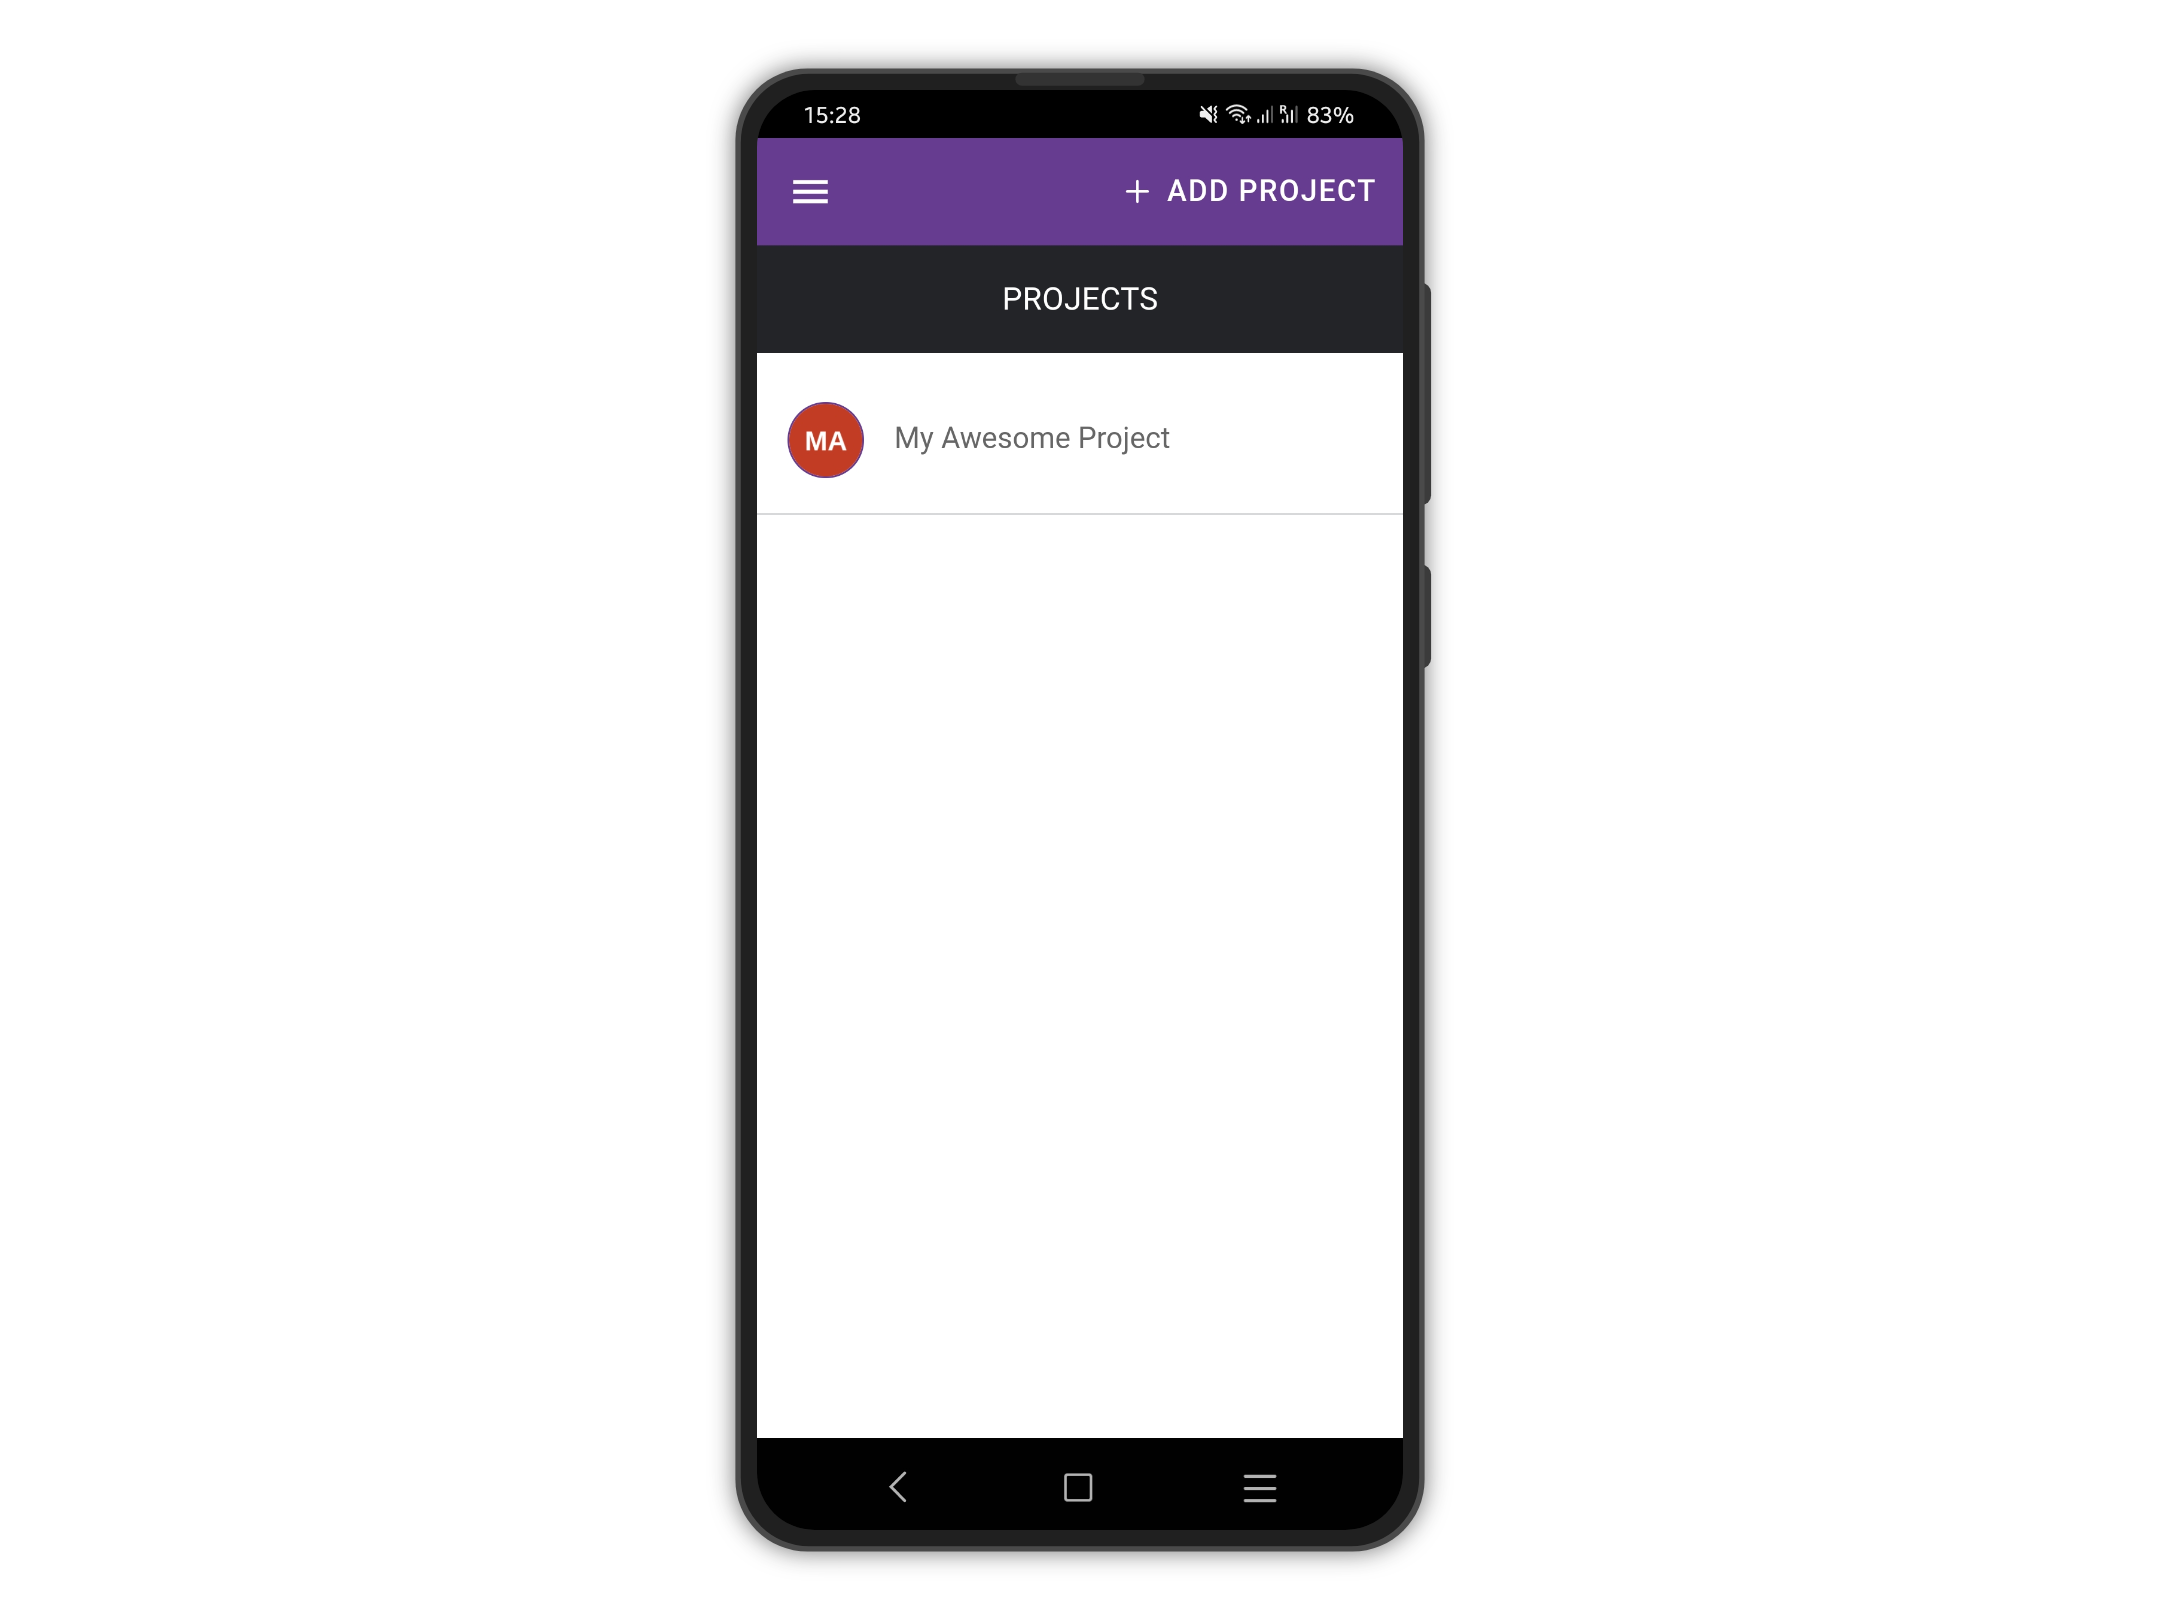
To upload your entries, tap on the project from the **PROJECTS** list.
{% hint style="warning" %}
An internet connection is required
{% endhint %}
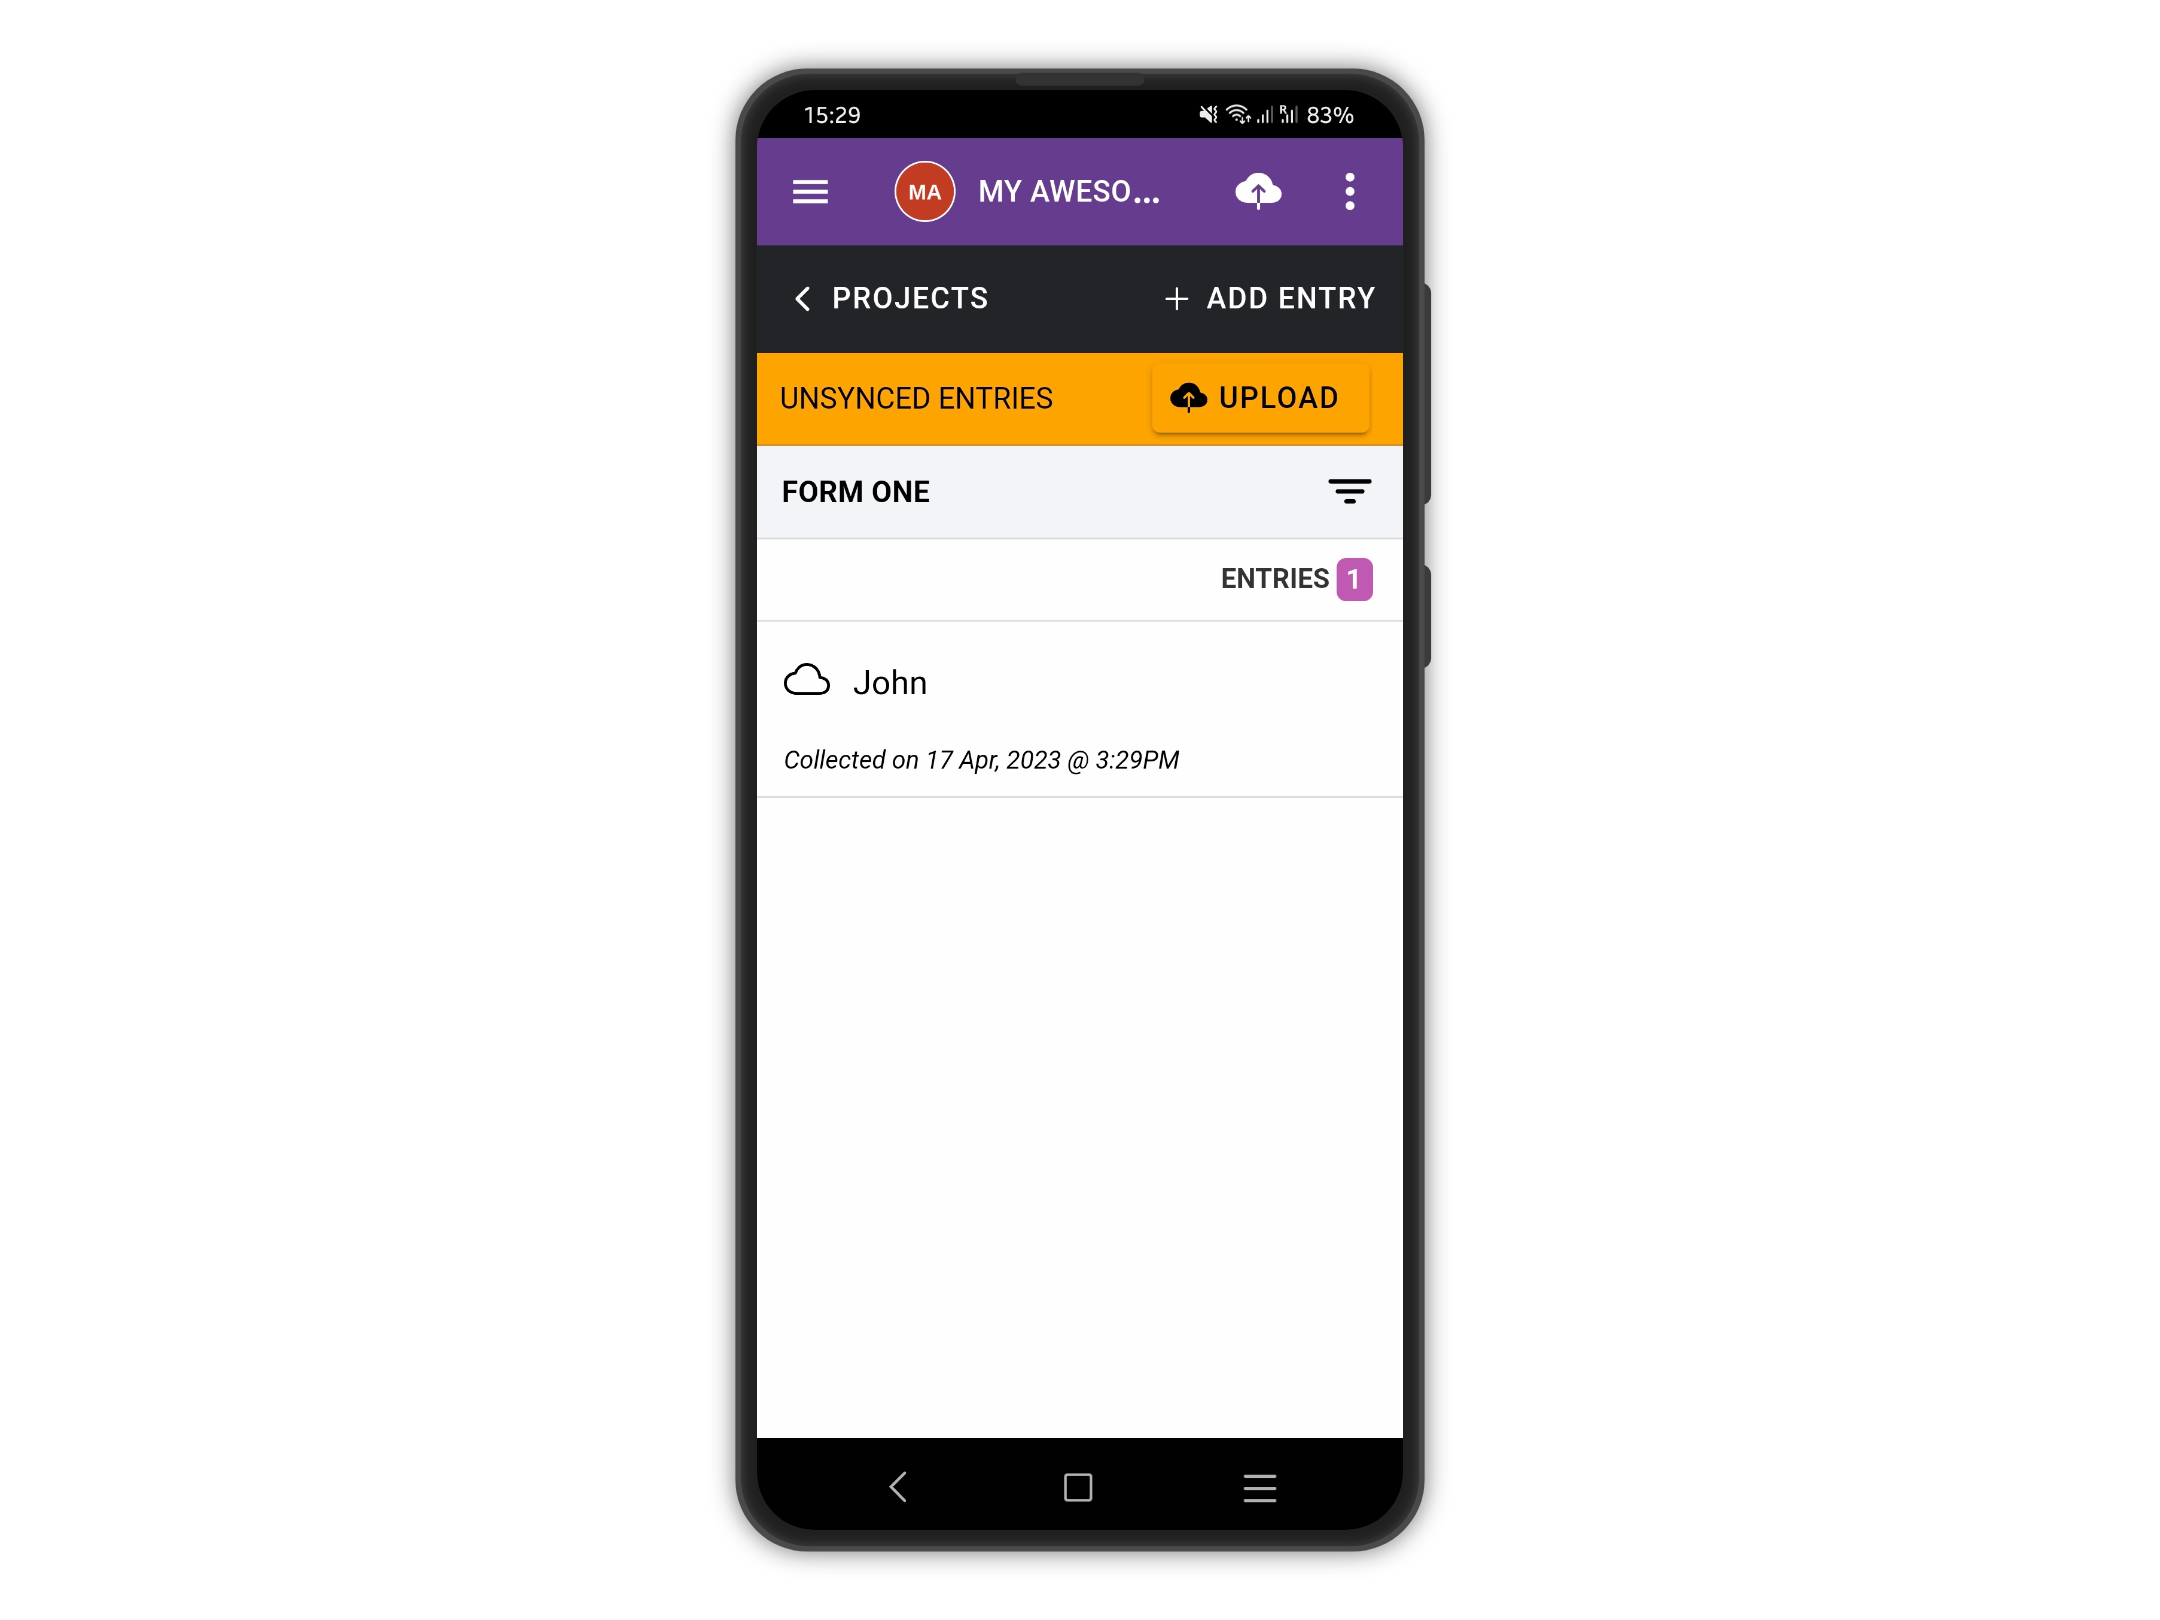
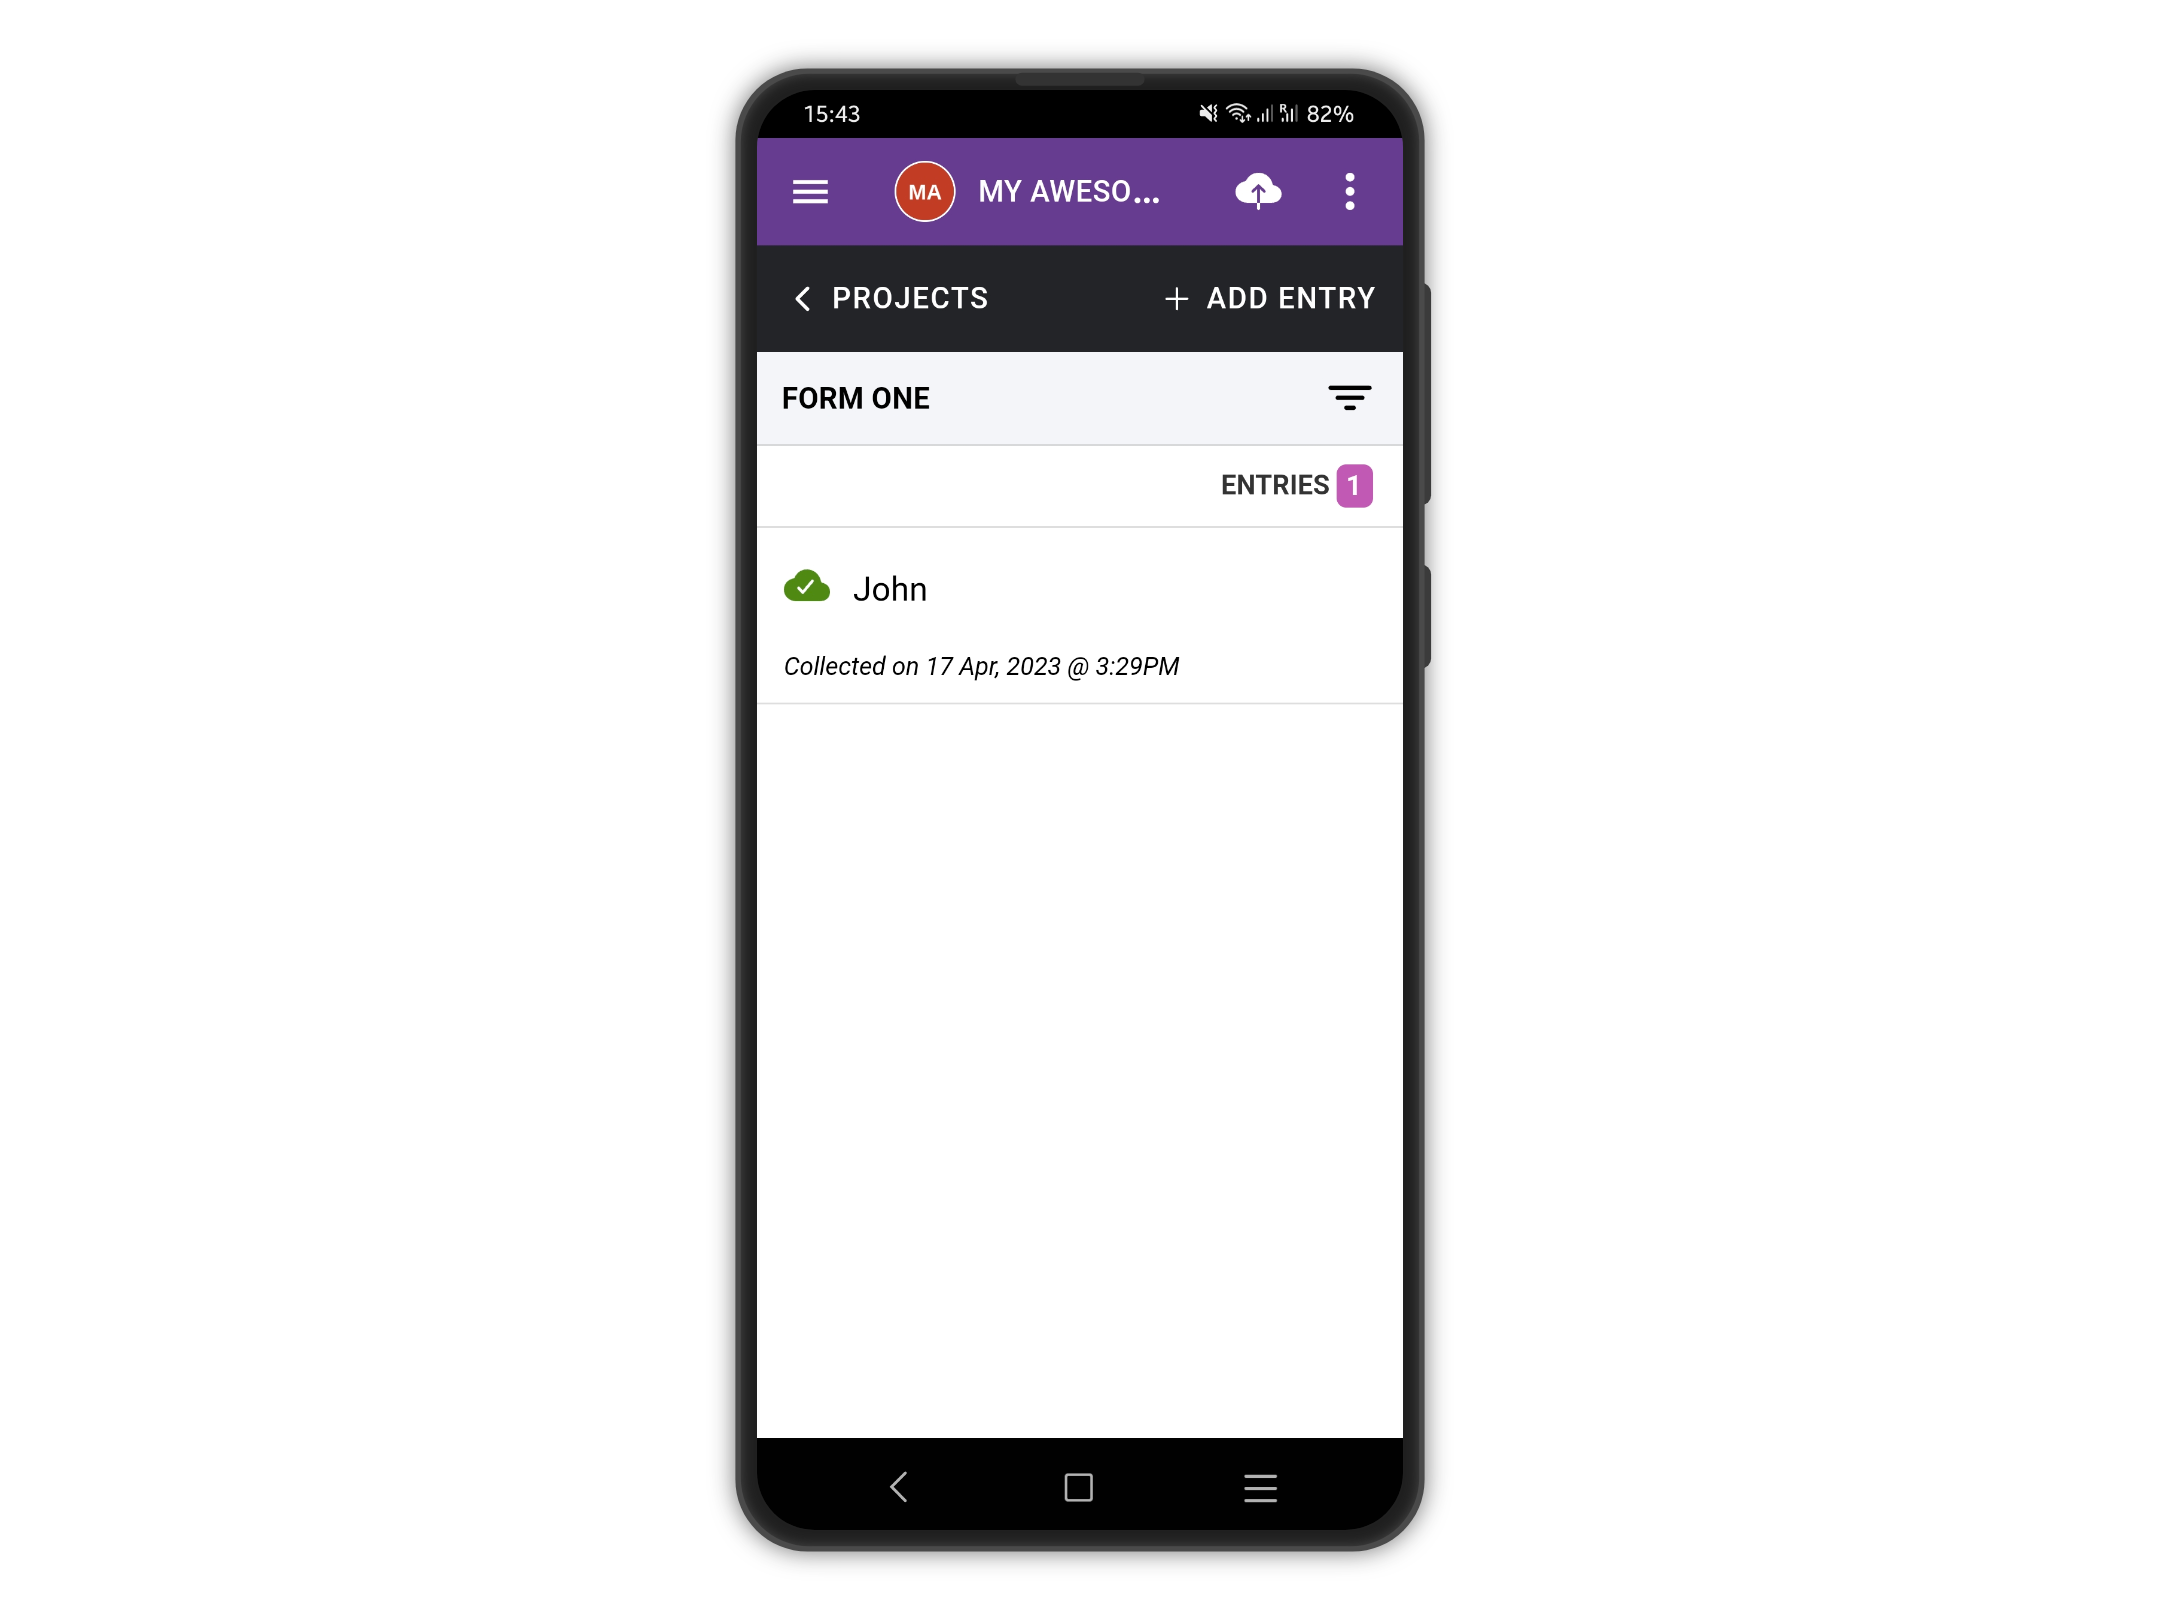
Next, tap the cloud icon at the top right corner (or tap **UPLOAD** on the warning banner).
Please note your local entries have an empty cloud icon next to them, to flag them as not synced.
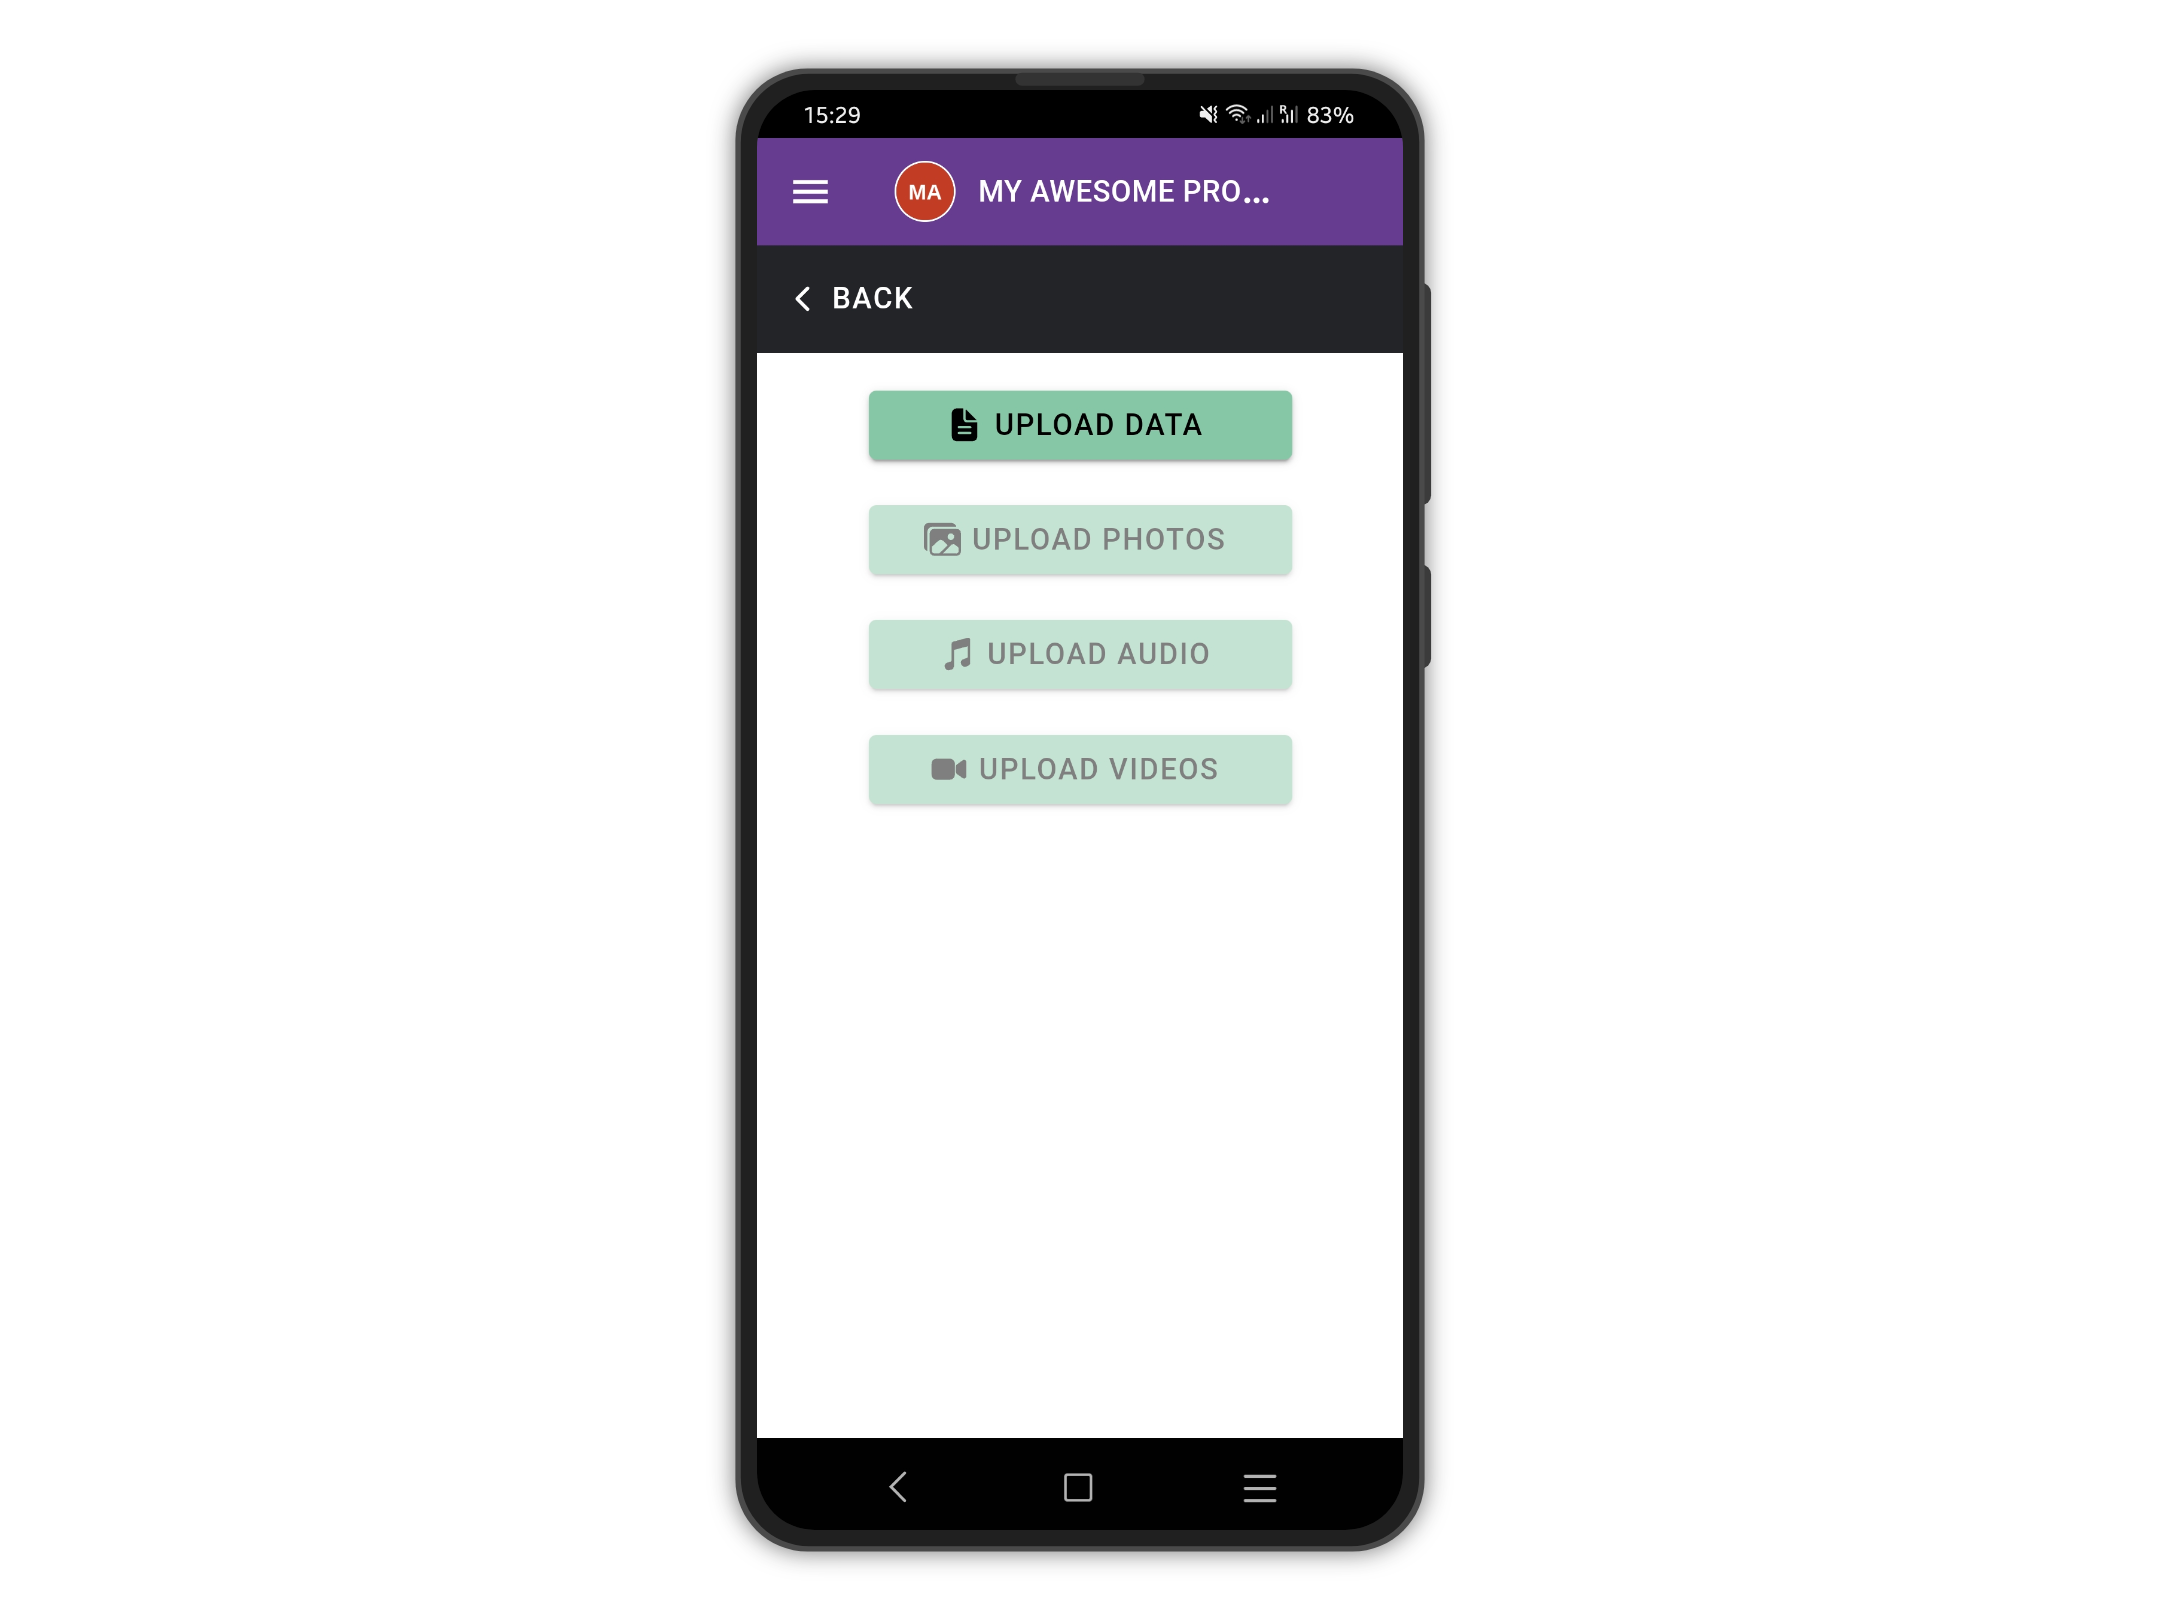
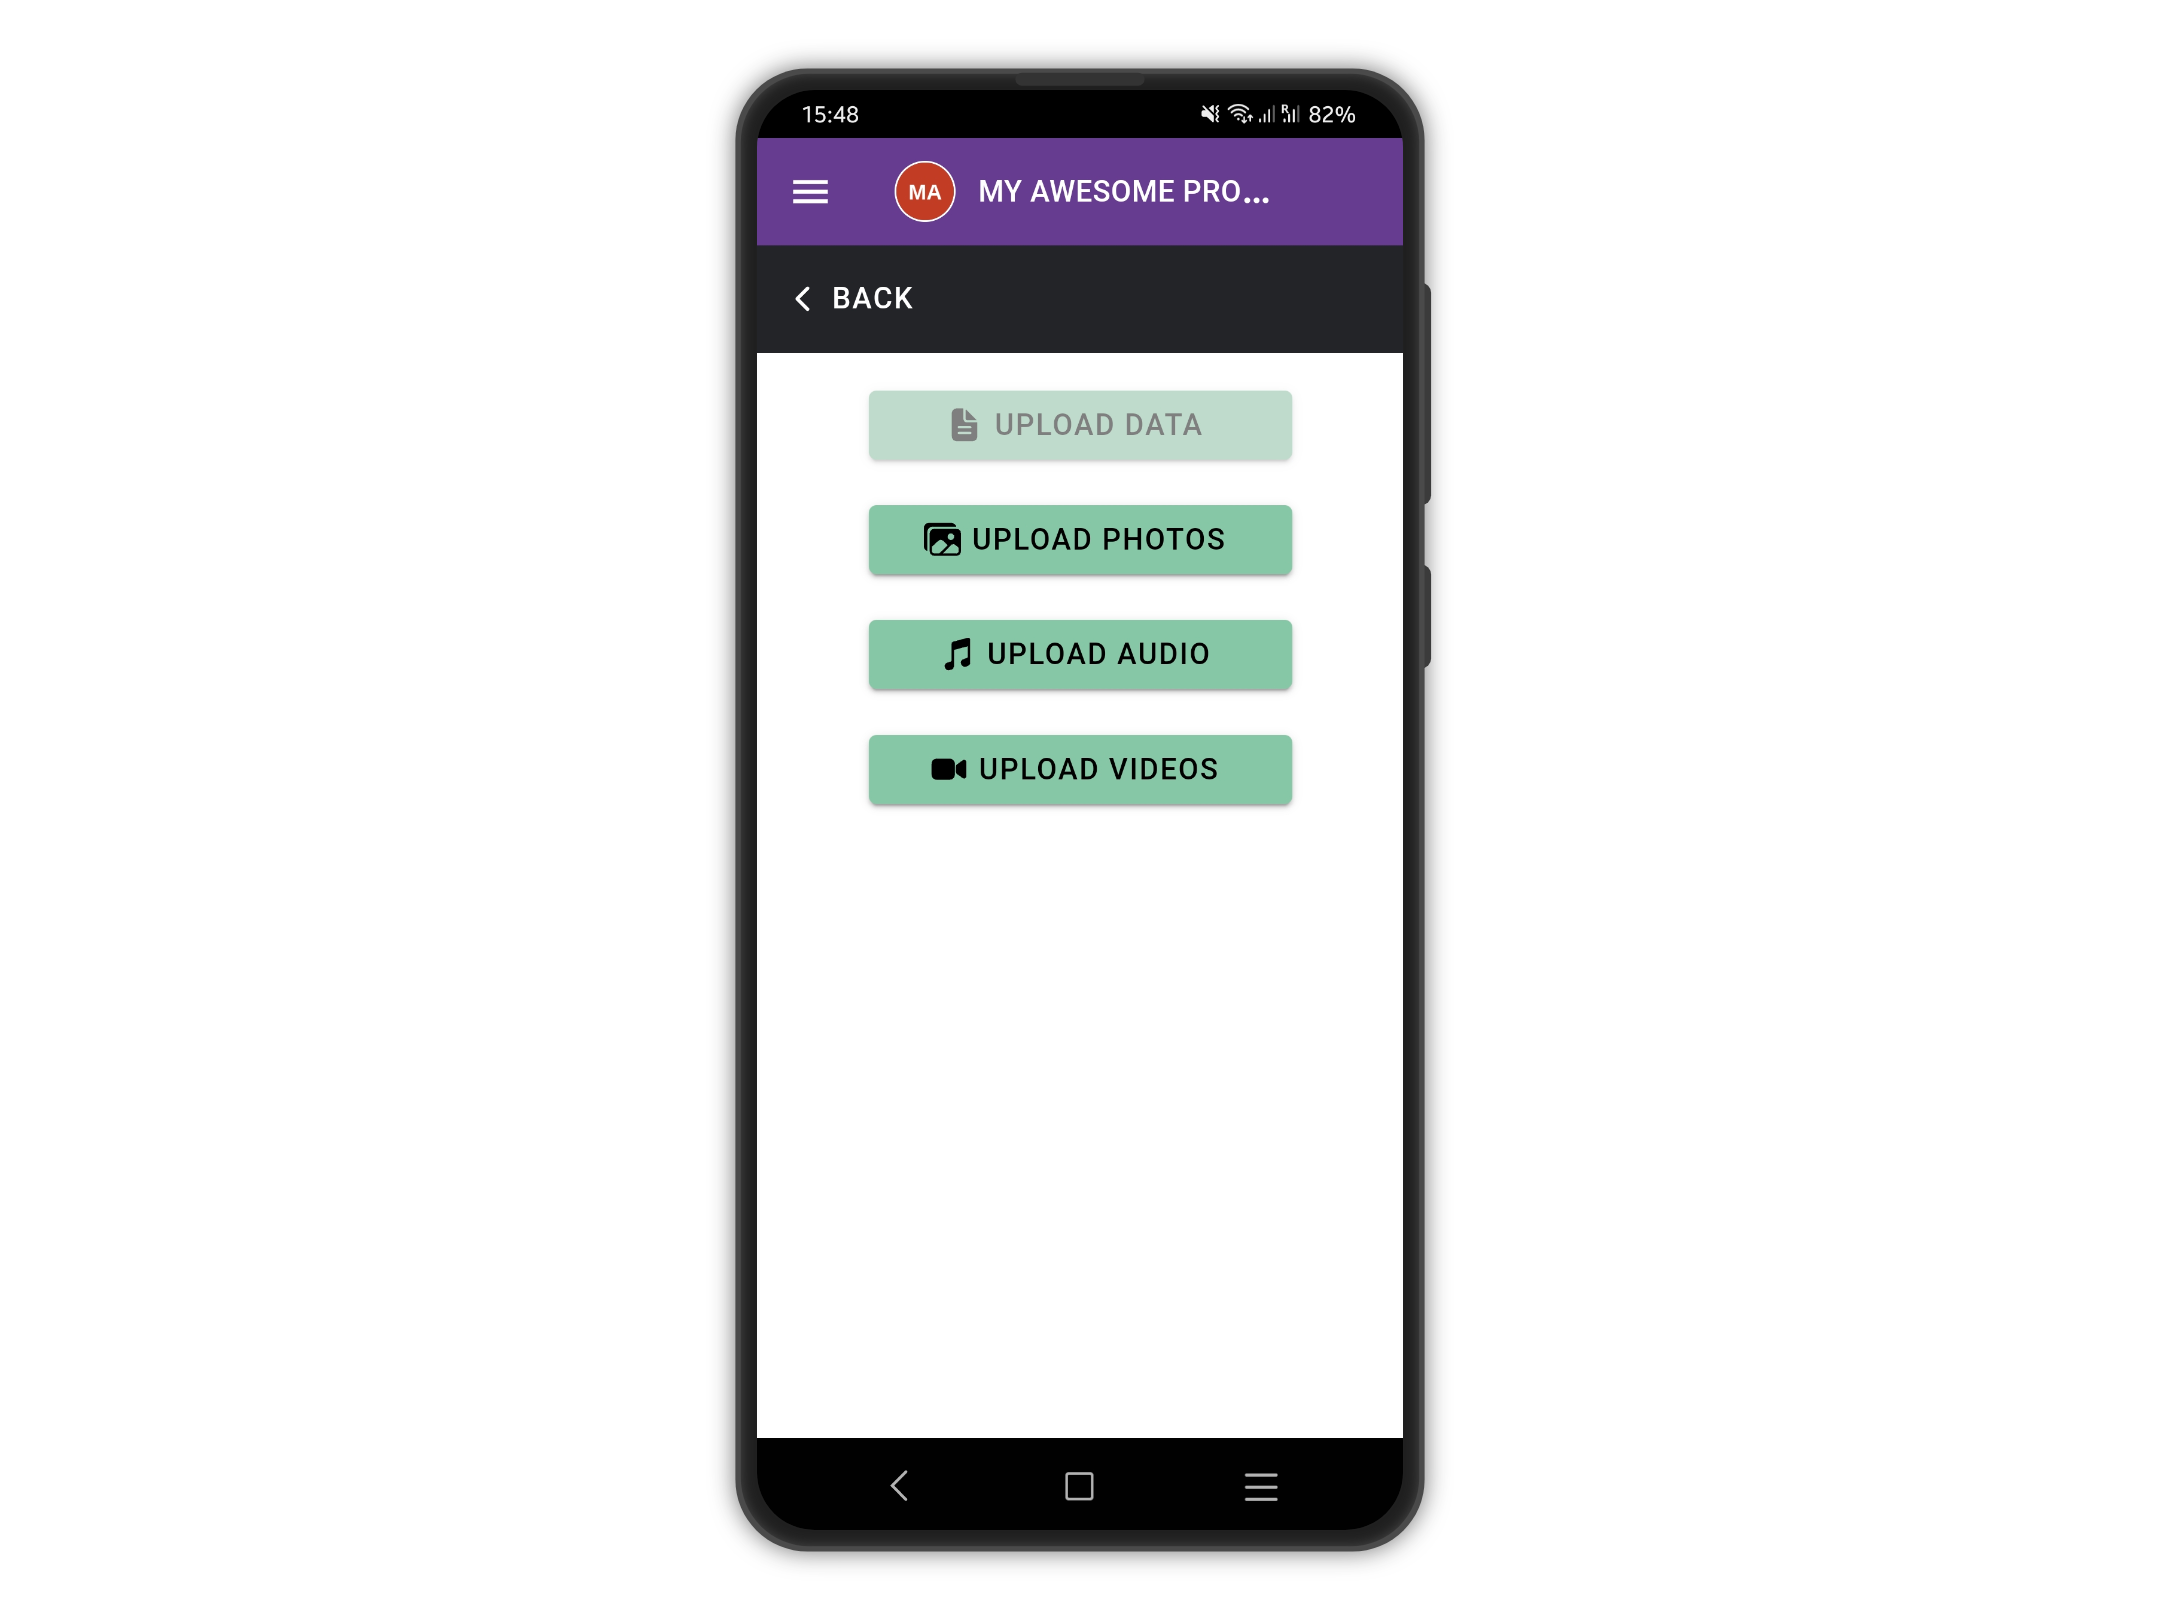
Tap UPLOAD DATA, if there are entries to upload the button will be enabled.
{% hint style="info" %}
If this is a private project, and users are not already logged in, they will be prompted to authenticate before they can upload any entries.
{% endhint %}
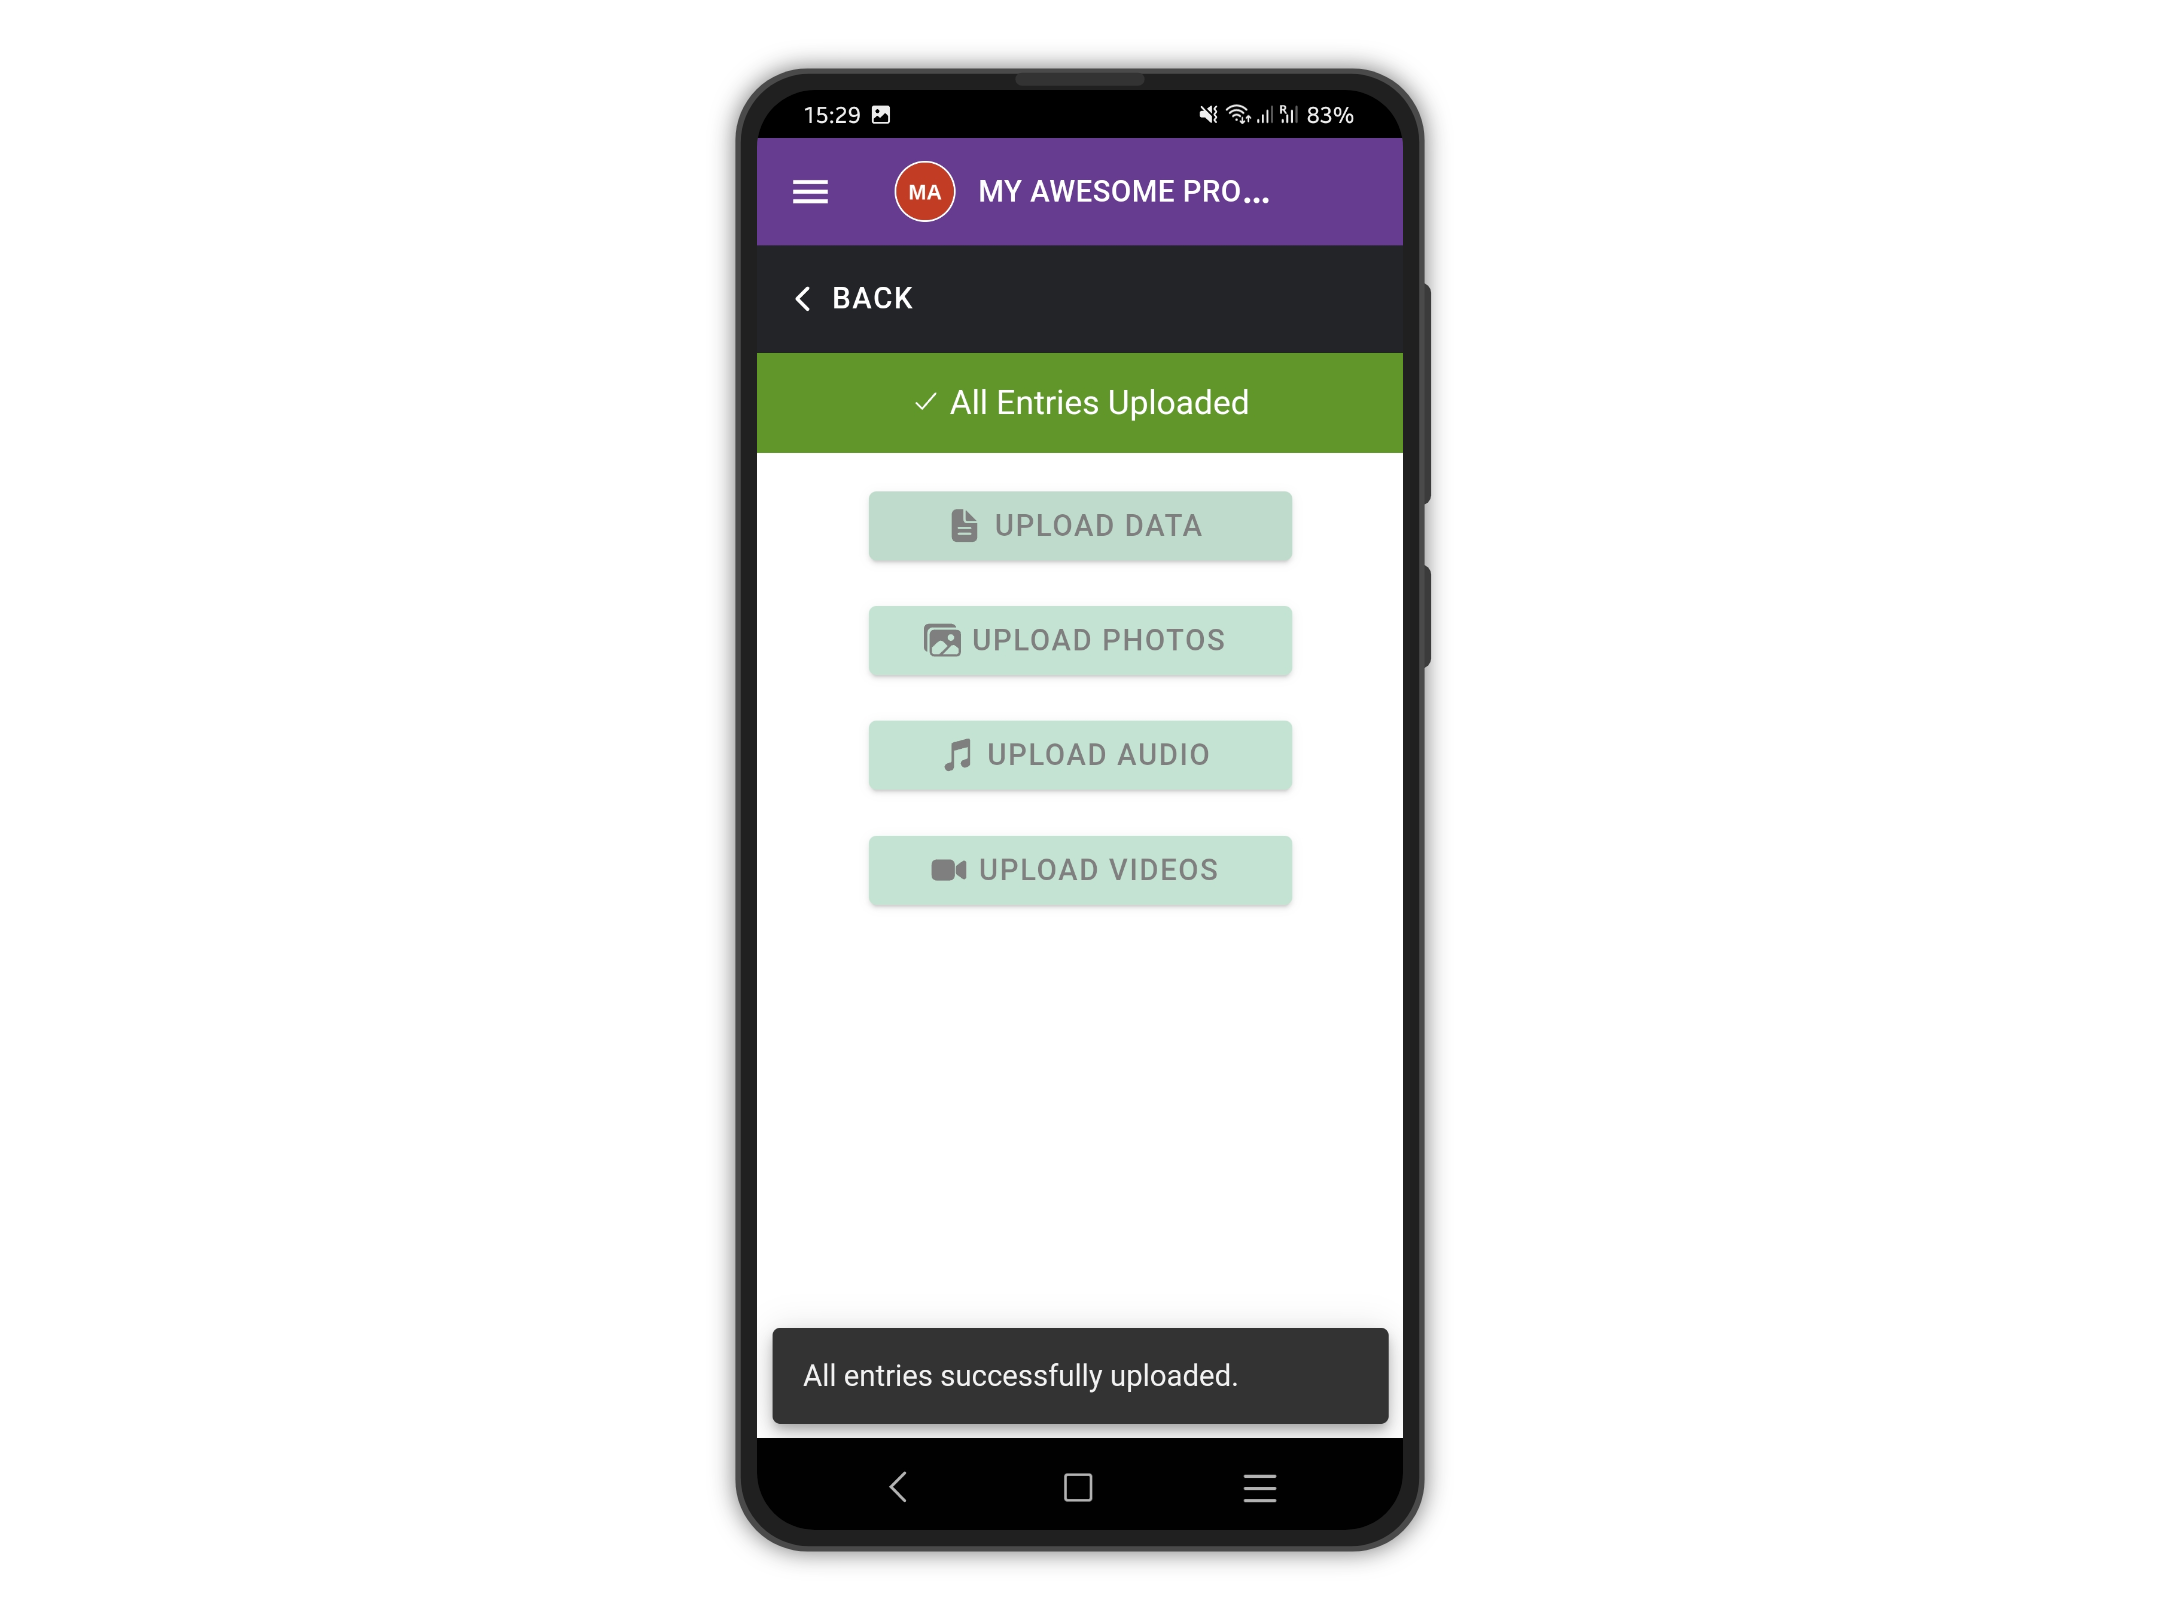
A progress indicator is shown while the data is being uploaded and once the upload is completed, feedback is shown.
Synced entries get a green-checked cloud icon to flag them as synced
## Uploading media files
{% hint style="warning" %}
If there are media files (photo, audio, and video questions) they need to be uploaded separately.
{% endhint %}
If there are media files to upload (photos, videos, and audio), it is possible to do it only once all the data has been uploaded successfully.
### Why **Media Files Are Uploaded Separately?**
1. **User Choice & Flexibility**
* Users may have **slow or unstable internet**, making it inefficient to upload large media files alongside form data.
* In some cases, **mobile data is expensive**—users may prefer uploading media later on Wi-Fi.
* Separating media uploads allows users to **submit critical data first** and add media when convenient.
2. **System Consistency & Validation**
* Media files (photos, audio, video) always require the **existing entry (container)** to link to.
* The **text/data portion must be validated first** (e.g., uniqueness, min or max, location values) before associating media.
* Prevents orphaned media files (uploaded files with no linked entry).
3. **Technical & Performance Reasons**
* Media files are **larger and slower to upload** compared to text/data.
* Uploading them separately **reduces server load** and avoids timeouts.
* Easier **error handling**—if media upload fails, the main data remains intact.
#### **Workflow Example**
1. **Users submit entries** (text, selections).
2. **The server validates and saves** the entry, generating a unique ID (e.g., `entry_123`).
3. **Users upload media**, which gets attached to `entry_123`.
4. **System confirms** all uploads are complete.
#### **Edge Cases & Considerations**
* **Weak Internet**: Users can retry media uploads without resubmitting the entire form.
* **Cost Sensitivity**: Users with limited data can skip or defer large uploads.
* **Validation Dependency**: Media require a validated entry on the server.
{% hint style="warning" %}
By separating media uploads, the system balances **user experience**, **reliability**, and **efficiency**.
{% endhint %}